Create Payment Link via Dashboard
Payment Link Creation Documentation
Creating payment links on PortOne is a straightforward and flexible process. Payment links can be created manually through the Merchant Portal Dashboard or automatically via APIs. This document provides detailed instructions for both methods.
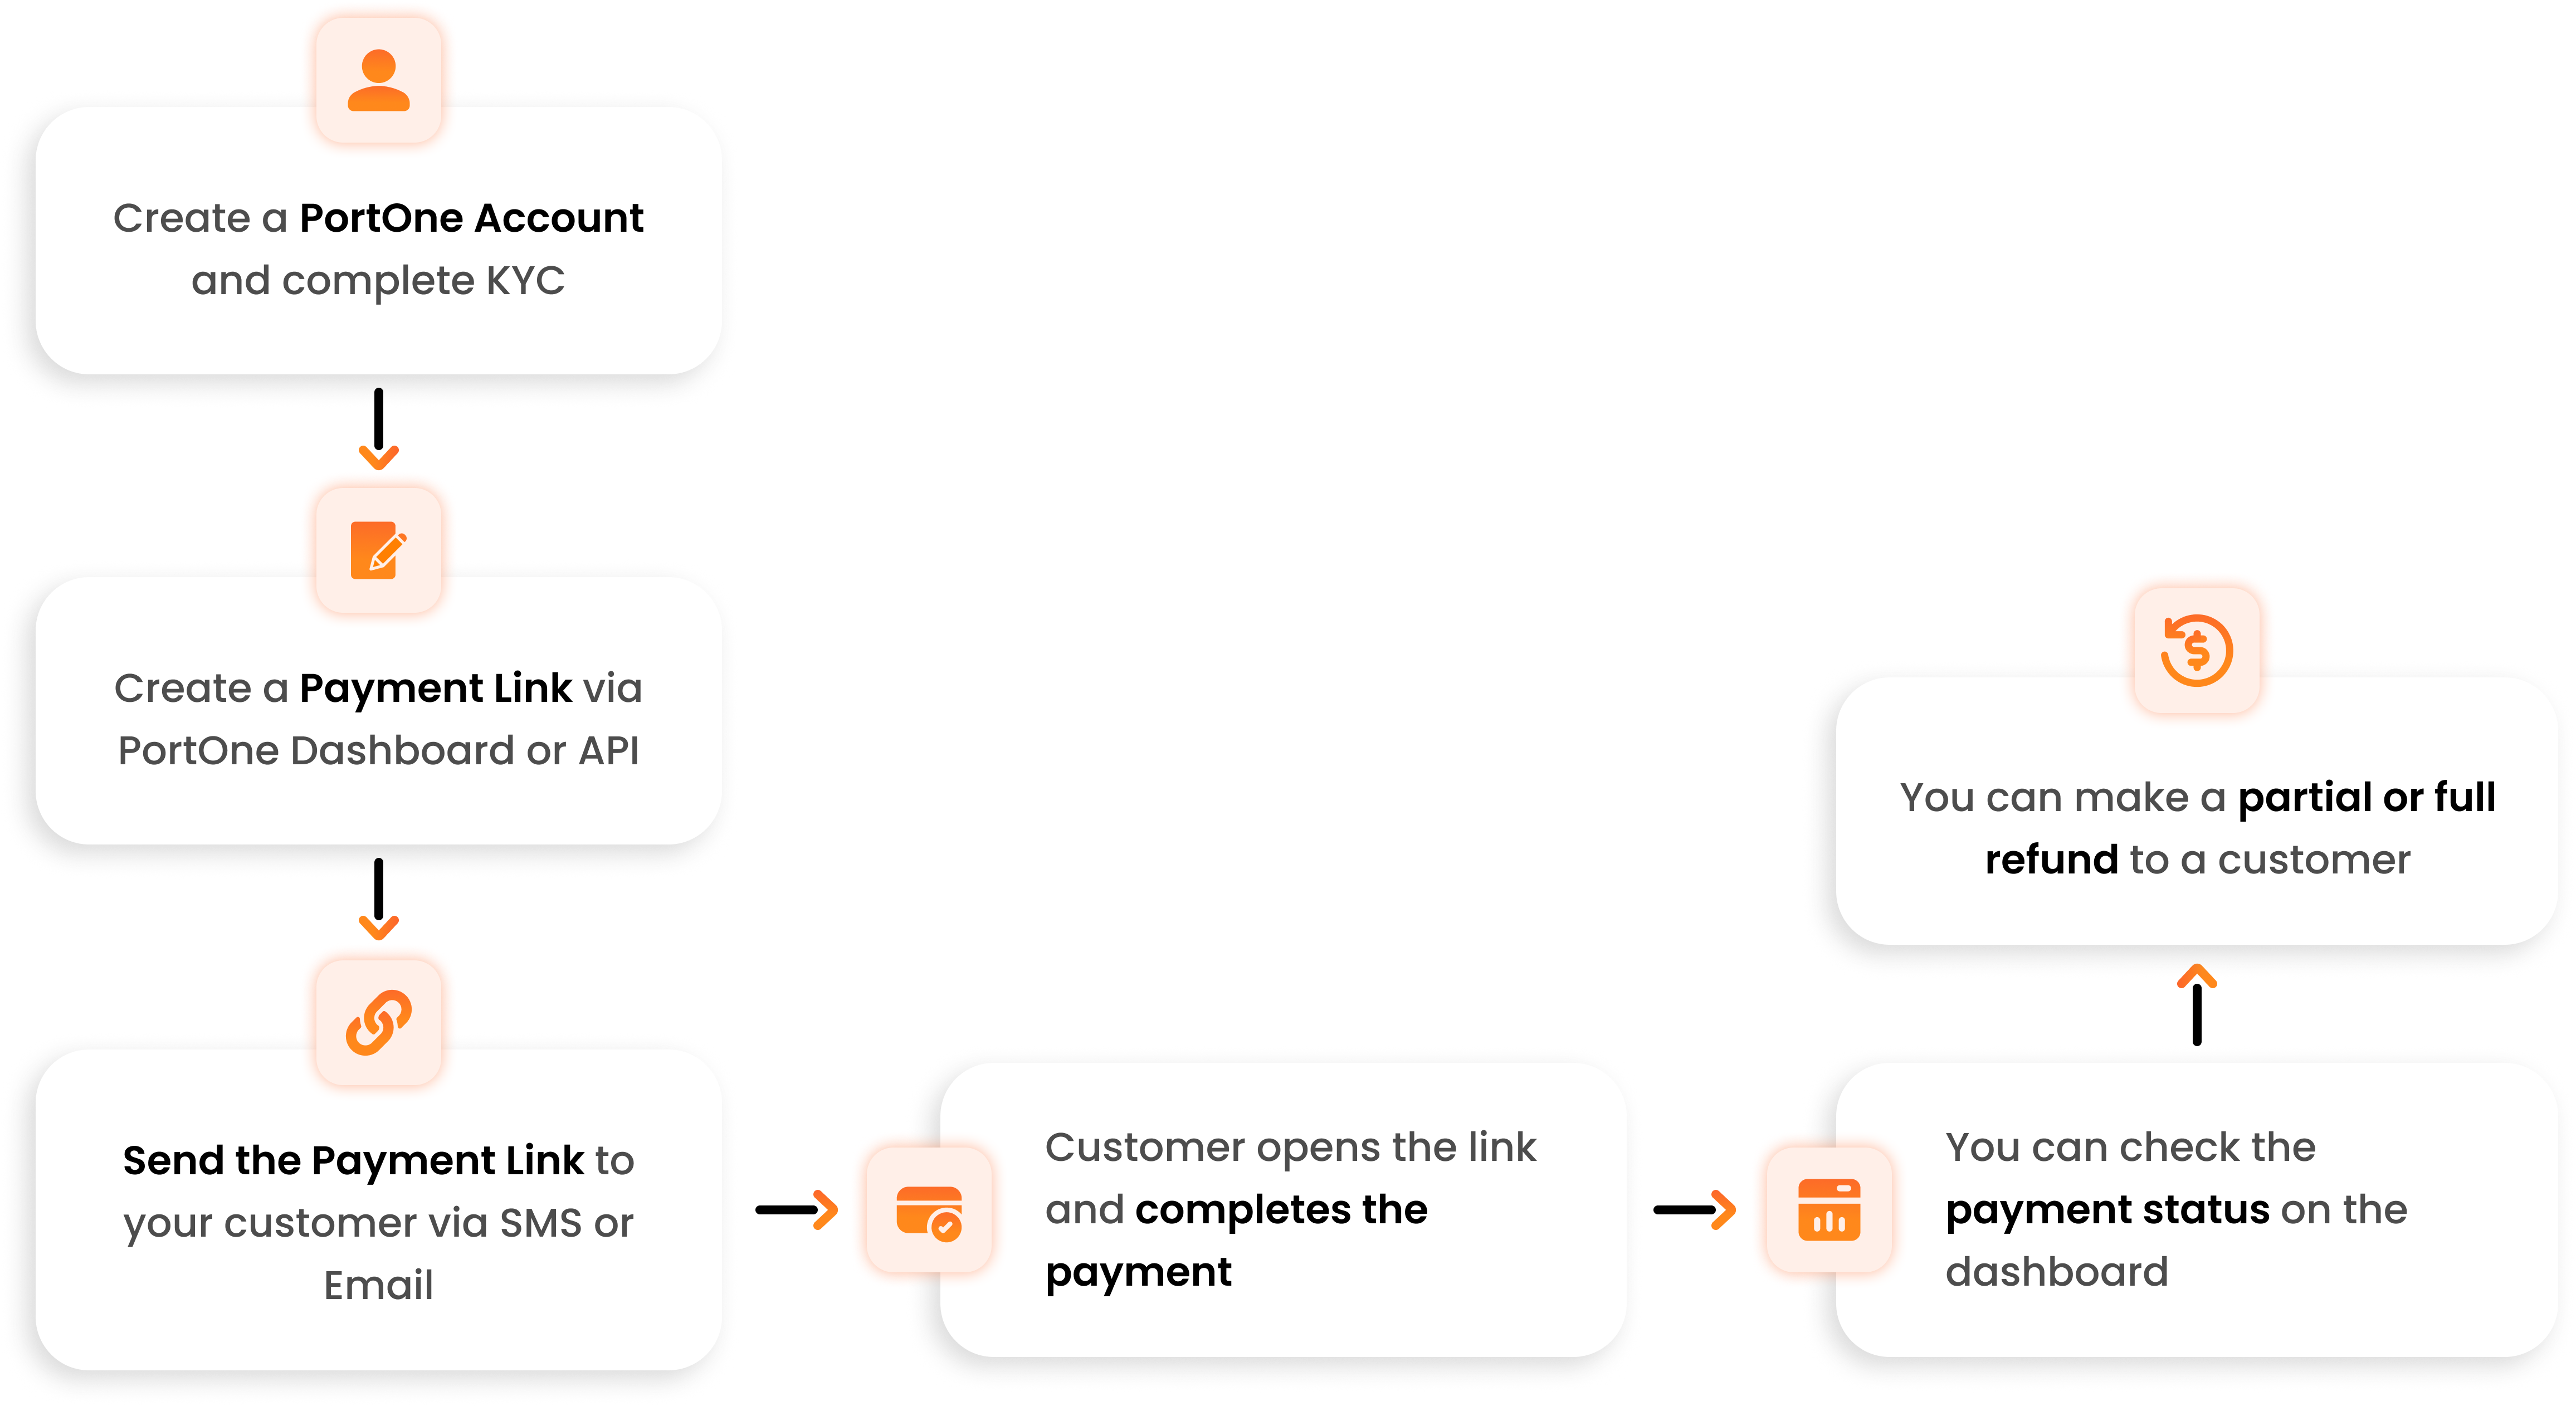
Steps to Create and Manage a Payment Link

1. Create a PortOne Account and Complete KYC
Before you can create a payment link, you need to:
- Sign up for a PortOne account.
- Complete the KYC (Know Your Customer) process.
Completing KYC is mandatory to enable financial transactions on the platform.
2. Create a Payment Link
Once your account is set up, you can create a payment link:
- Log in to the PortOne Dashboard, or use the API to generate a payment link.
- Specify the payment details (such as amount, currency, and description) when creating the link.
The payment link serves as a URL that directs customers to a secure payment page.
3. Send the Payment Link to Customers
After creating the payment link, you can share it with your customers:
- Send the payment link to the customer via SMS or Email.
This step ensures that customers receive the payment link in a convenient way, allowing them to complete their payment.
4. Customer Completes the Payment
The customer opens the payment link, which directs them to the payment page:
- On this page, the customer can review the payment details and complete the transaction.
Upon successful payment, you’ll be able to see the transaction status on the dashboard.
5. Check Payment Status
Once the payment is completed, you can check the status directly on the PortOne dashboard. The payment status provides insight into whether the payment was successful, pending, or failed.
6. Process Refunds (Partial or Full)
If necessary, you can issue refunds for completed payments:
- You have the option to issue either a partial or full refund to the customer.
Refund management can also be done from the PortOne Dashboard, allowing you to handle customer requests efficiently.
Creating a Payment Link via PortOne Console (Manual)
To create a Payment Link in the PortOne Dashboard, follow these steps:
- Log in to the PortOne Dashboard.
- Navigate to the PAYMENT LINKS section via the Left Navigation bar.
- Click on + Create Payment Link.
Enter Payment Link Details
In the Payment Link modal, fill in the required details:
- Amount (Mandatory) : Enter the amount.
- Currency (Mandatory): Select the currency for the Payment Link. Note: Payments can be accepted in international currencies.
- Description (Optional) : Provide a description for the payment. Example: "School fees for Nyugen Phan - Class XII B".
- Customer Email ID (Optional): Enter the customer's email. Example: [email protected].
- Customer Phone Number (Optional): Enter the customer's phone number. Example: 9876543210.
- Notify via Email (Optional): Select this option to send the Payment Link to the customer via email. (Available only if the customer's email is provided).
- Notify via SMS (Optional): Select this option to send the Payment Link to the customer via SMS. (Available only if the customer's phone number is provided).
- Send Immediately (Optional): Select this option to send the Payment Link to the customer via SMS. (Available only if the customer's phone number is provided).
- Schedule Link (Optional) Set Set the date and time when the Payment Link should be sent to the customer through configured email or SMS.
- Custom Link Reference (Optional): Provide a unique reference number for the link. Example: mypaylink_Adbb001.
- Link Expiry (Optional) Set the date and time when the Payment Link should expire, By default link does not expire.
- Notes (Optional): Provide multiple internal notes for the Payment Link—example: Title (key) - Acme Corp.
Review all the entered details.
Click the Create Payment Link to finalize the process.
Copy and Share
Copy the generated payment link and send it to your customers through their preferred communication channels.
By following these steps, you can easily create a Payment Link in the PortOne Dashboard. For additional support or queries, please refer to the PortOne support resources or contact customer support.
Updated 5 months ago
